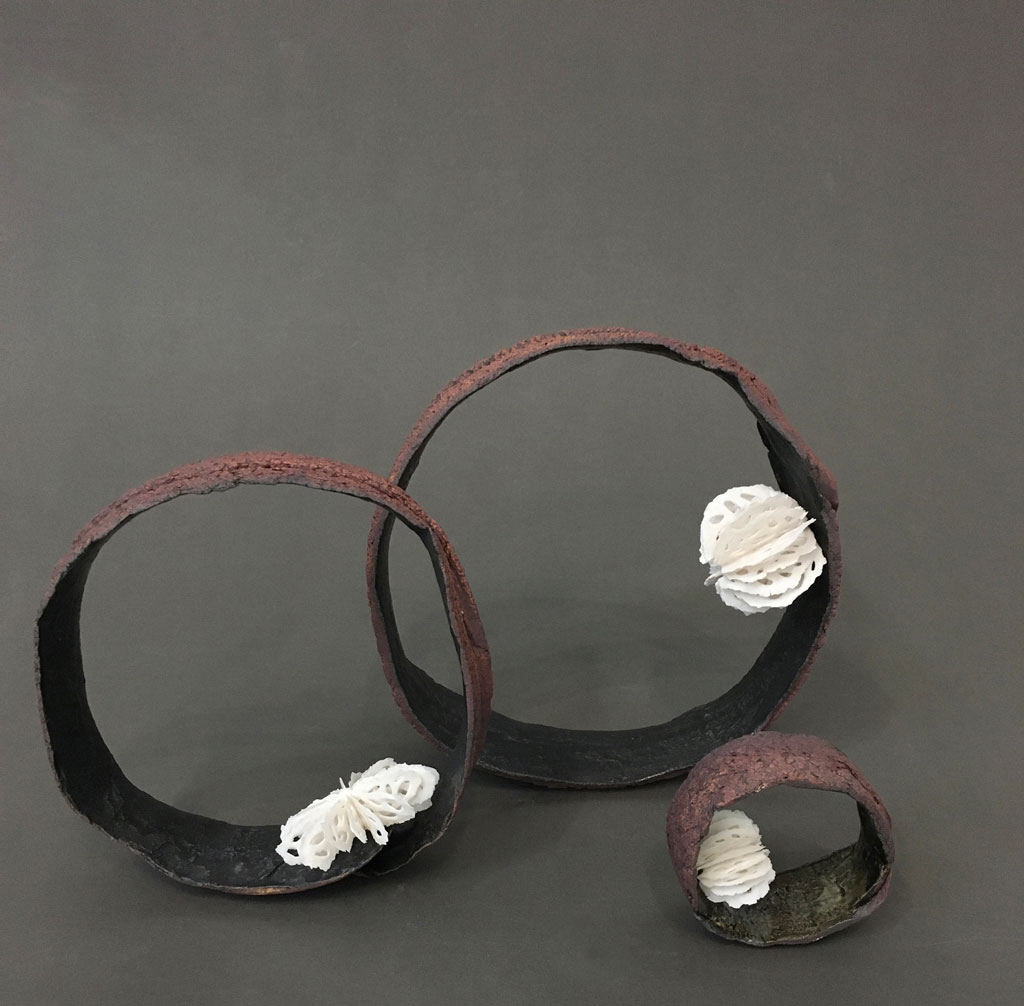
Join me at Open Studios 2021
For the first time in two years, I’ll be opening my studio to the public as part of the Santa Cruz County Open Studios Art Tour.
OCTOBER 9, 10, 16 & 17th
2523 C Mission St | Santa Cruz
Artist #243

Join me at Open Studios 2021
For the first time in two years, I’ll be opening my studio to the public as part of the Santa Cruz County Open Studios Art Tour.
OCTOBER 9, 10, 16 & 17th
2523 C Mission St | Santa Cruz
Artist #243
I don’t remember a time when I didn’t know JB. We grew up together, skiing in the winters in Vermont and scheming adventures in the summers in New Jersey. We go years without seeing each other in person and when we are reunited it’s like no time has passed. I know I can count on him to say yes to any adventure and he is always the first person to make snow angels with me, even if there’s no snow. He’s a lifelong, long lost friend and a crazy talented landscape painter too.
On first glance, you’d swear he was a photographer not a painter. His attention to detail and patience throughout the process of bringing his paintings to life continually astound me. When you scan his horizon format paintings, some of which are only 3 inches high but nearly 6 feet long, you feel there, immersed in the space, seeing it through his eyes. Diving into his seascapes seems like a perfectly reasonable option, it’s as if you’re looking through a window out to the glistening ocean. JB’s work is represented by Robert Lange Studio if you want to add a new piece to your collection, I know it’s a life goal for me! Check out the video below to see his process and learn more…
About JB Boyd’s work: Focusing on the Lowcountry as a subject, Boyd’s paintings start with photographs, or more accurately, the journey to reach the photograph site. Boyd uses boats, ladders, trees and whatever else he can find and/or trespass on to create a unique perspectives. Perched twenty feet above the flat expanse of the marsh, or lying belly down in the mud, Boyd photographs in series to create a 360º view. Then, back in his studio, he arranges, crops, and edits these photographs to make a singular image. Using the image as a reference, his oil paintings are built up layer by layer, with each subsequent layer tightening the detail presented.
Learn more at JB’s website or follow him on Instagram, Facebook or You Tube
To purchase his work, contact Robert Lange Studios
Artists Sharing Artists: is a series of posts where I share some of my favorite artists who are also inspired by nature and use their art to protect what they love. More artists coming soon…
Very excited to announce that I’ve just installed a new (to me) larger kiln in the studio! I was able to buy it used from another artist who was downsizing their studio. My husband named the new kiln Hugo because well… it’s huge! Can’t wait to start loading it and firing it up!
This means that I’m now selling my older big kiln, details are below if anyone is interested in it!
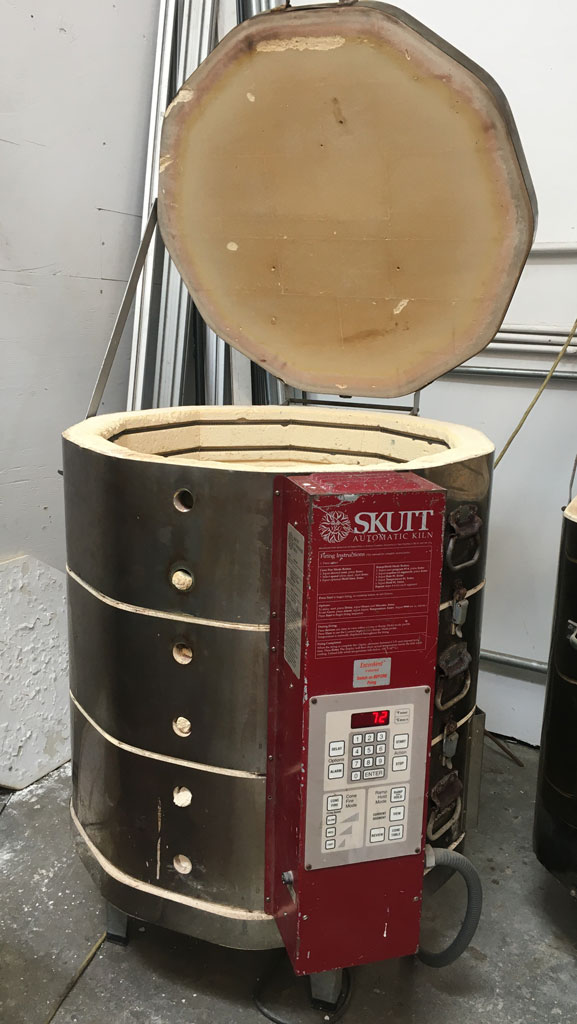
For Sale
Used Skutt Automatic KM-1027
208 V
31.7 Amps
3 Phase
2350 F/ Cone 10 Max
7 cu ft
23 x 23 x 27d (opening)
$1200.
Includes:
2 Full Shelves, 5 Half Shelves, Large Selection of Posts, ~10’ of Wire, Receptacle, 40 Amp Breaker for Square D Box.
Condition:
New elements, Thermocouple, Relay Switches, Plug and Receptacle.
Some damage to bricks, missing/broken peep hole plugs, has envirovent but doesn’t work- could possibly be fixed.
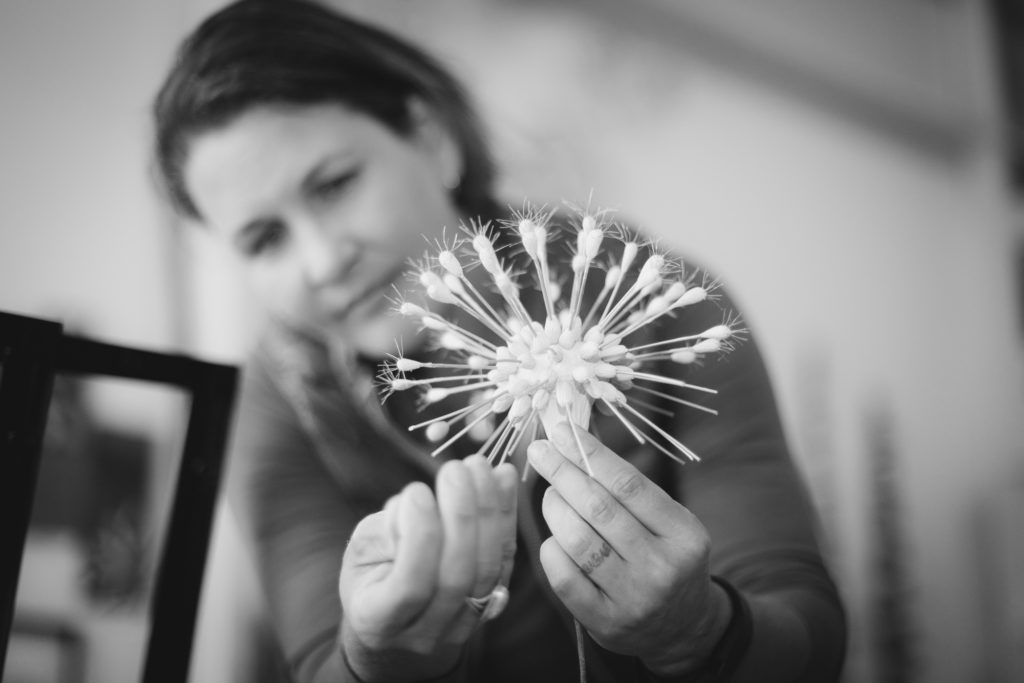
I’ll be doing a pre-recorded online workshop about incorporating kanthal wire into clay at The Ceramic School soon! There will also be a live Q&A to follow. Check out the workshop preview here…
photo credit: Crystal Birns
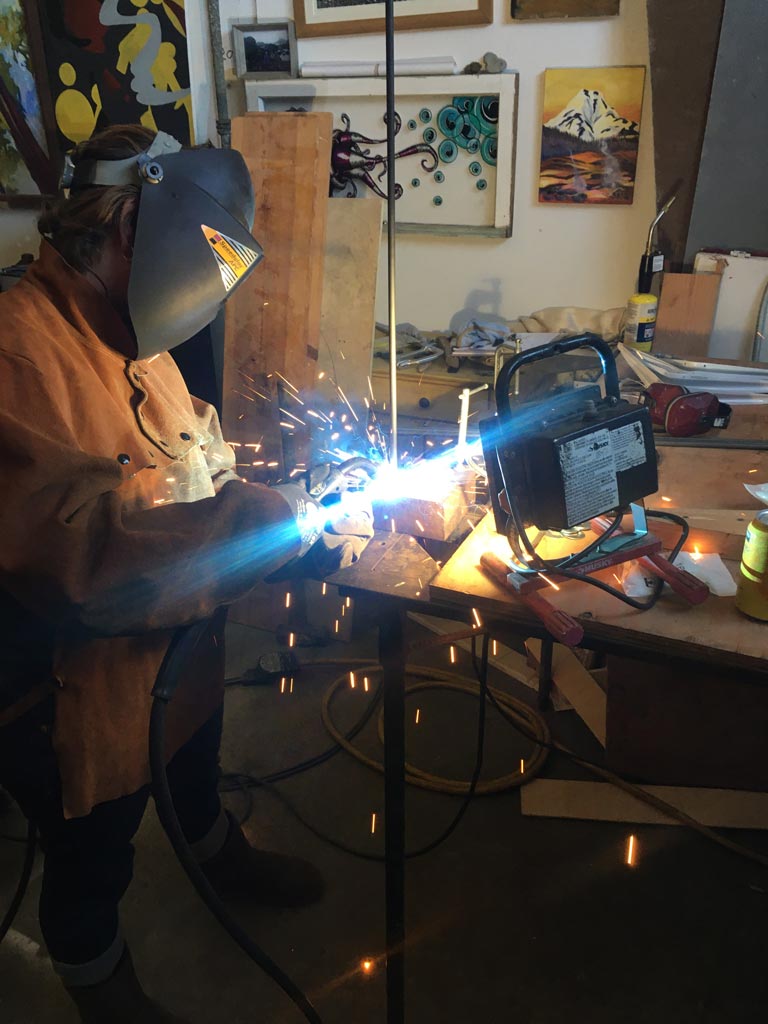
Here’s the monthly wrap up of everything going on at the studio…
Want to get the monthly email right in your inbox?
Join our safe subscribe monthly mailing list:
Now that the ceramic parts for this site specific installation are completed, it’s time to start working on the infrastructure. Each of the ceramic pieces will be epoxied to a steel rod that will be anchored into the ground supporting the pieces and also allowing them to float off the ground about a foot. This will give an ethereal vibe to the piece while also allowing the forest floor room to regrow beneath the work.
There are over 300 parts but about half of them are large enough that they require two rods to support them, so that totals to approximately 450 rods that need to be fabricated, plus some extras of course. I ordered 1300′ of steel rod that needs to be cut into 30″ lengths, the ends are ground so they are not sharp and then I’m welding on a washer to the end of each rod where the ceramic piece will rest and be epoxied to the rod. It’s simple, but it is A LOT of parts to make.
I’ve also started to pack up all the parts and make lists of everything I’ll need to bring with me for the installation. And trying to prepare and plan for all the ‘what ifs’ that might happen. Luckily, I can already tell that I’ve got a great team meeting me on site and that even if all doesn’t go as planned, we’re going to make it work and make it beautiful!
Installation is now officially scheduled for early August, and I’ll be posting the progress on my Instagram feed if you want to follow along.
I had been a fan of Sally’s work long before I got to meet her in Taiwan during our residency at the Yingge Ceramic Museum. It was impressive to see her in action, she was only at the residency for one month and I think she created more work in that month than I had in the three months I’d been there, she’s amazingly productive!
I love how animated her forms are, it feels like they will just get up and start walking or swimming through the studio. Her use of pattern, color and carved textures only adds to the movement in her work. I also had no idea that she threw all her forms on the wheel, I had assumed everything was hand-built, so it was great to be able to watch and learn about her process. Not only is she an impressive sculptor with excellent craftsmanship but she is also the sweetest person, a stellar karaoke singer and she made me laugh until it hurt.
Check out the video below to see more images of her work…
About Sally Walk’s Work: My sculptural works are often on the edge, balanced, uneasy and restless, contrasting with a delicate prettiness that presents a sense of determination. They reference the illusions we create, how we present ourselves and what we determine as truth. Our outer shell is a façade, a beautiful illusion, but who we are is unclear. Our very existence is constructed, carefully controlled, meticulously edited. Only the edited version is apparent. What lies within or beyond the beautiful façade is lost, as reality teeters on the edge. This imbalance between what is real and what is not, is unnerving, and my ceramic sculptures explore this concept.
The shape of the forms are inspired by marine animals and microscopic imagery. I became interested in microscopic images after my mum was diagnosed with cancer, and unlikely positive to come from the situation. The virus-like rounded spikes were actually from some research I did into viruses that were being used to cure cancer. Oh how quickly that imagery has become linked to a pandemic.
You can follow Sally on Instagram and Facebook or visit her website to view more of her work.
Artists Sharing Artists: is a series of posts where I share some of my favorite artists who are also inspired by nature and use their art to protect what they love. More artists coming soon…
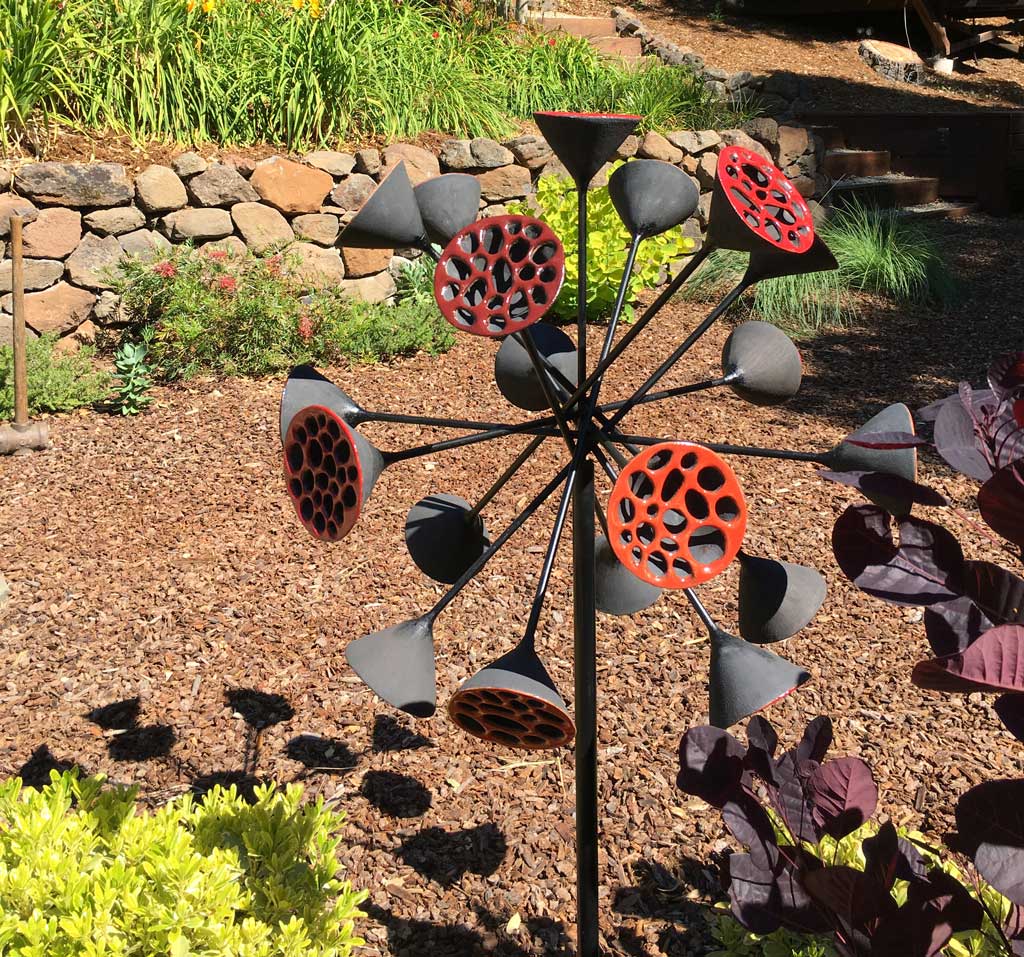
Just wanted to share this brand new custom Umbel flower in its happy home. I love how perfectly it fits into the owners landscaping choices while still standing out and making a statement.
Check out those shadows too!
Interested in a custom piece for your home? Contact me for a free consult at jw@jenniward.com
Our exhibition proposal for the next NCECA was accepted! The NCECA (National Council on Education in the Ceramic Arts) conference will be held in Sacramento in March of 2022. If you are unfamiliar with the conference, the 3 day event hosts lectures, panels, demos and exhibitions all related to the field of ceramics. This will be the first time in 2 years that the conference is planned to be in person once again – so exciting to have this happening in our backyard.
NCECA accepts proposals for concurrent exhibits to happen during the conference at neighboring galleries and art spaces and this year I’m thrilled to be co-curating and exhibiting my own work in one of those exhibits. Fellow ceramic artist Cynthia Siegel and I proposed an exhibit entitled, ‘This Is The Anthropocene.’ which aims to discuss the environmental crisis we are currently in through a variety of styles and approaches all using clay as the primary medium. We invited three other artists; Shannon Sullivan, Wesley Wright and Sue Whitmore to join us in exploring this concept. All of our work is so different in style, but will be tied together with the common thread of the status of our environment, I can’t wait to see it all in the same space.
More details about the conference, these artists and this exhibition will be coming as things get closer, so stay tuned!
I ~think~ I have enough parts for my site specific Spore Patterns installation at the Price Sculpture Forest on Whidbey Island in Washington. I’ve lost the official count of parts but there’s definitely more than 300 pieces here, some are still raw clay, some glazed but not fired and most are finished. Next steps are to start working on the steel rods that will support the ceramic pieces to get them floating off the ground. Getting excited!