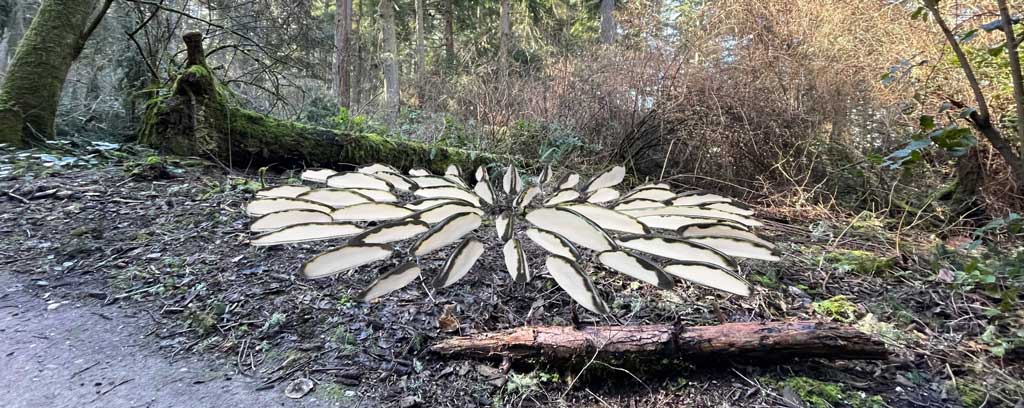
Last week, I announced my opportunity to create a large scale public art installation for the Price Sculpture Forest in Washington State. My studio is filling up with parts for this project, so I wanted to share my progress. (if you missed last weeks post, here’s the link!)

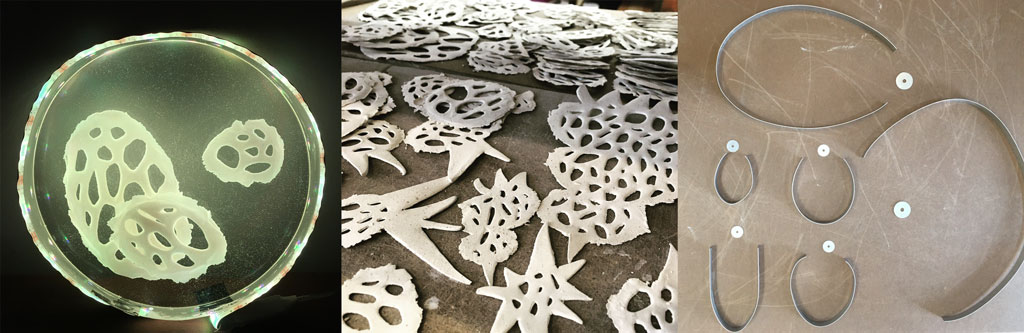
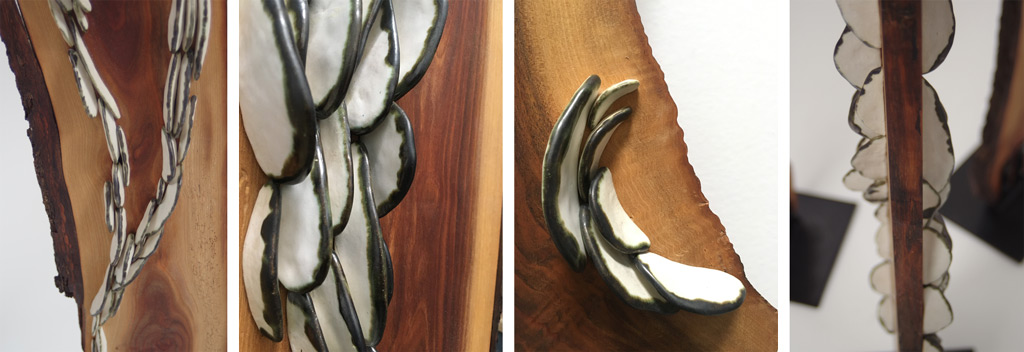
These pieces are in various stages of being built. I cut out all the shapes intuitively so that each piece is unique and there are a variety of sizes. The far left image shows the shapes but all the edges have yet to be attached. It’s important to let the panels of each piece set up a little before they are attached so that they hold their shape as they are handled and moved around. Once they are attached, they are left to dry a bit more and then they get a final wipe down before they are left to dry completely.
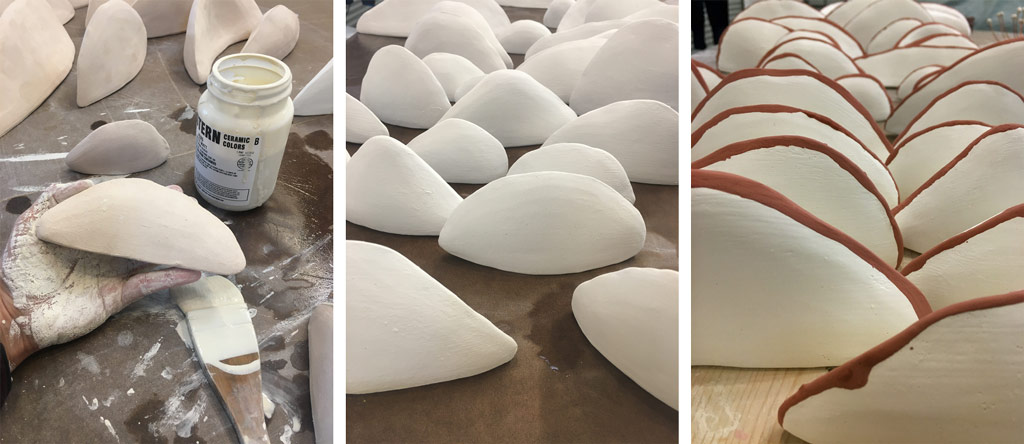
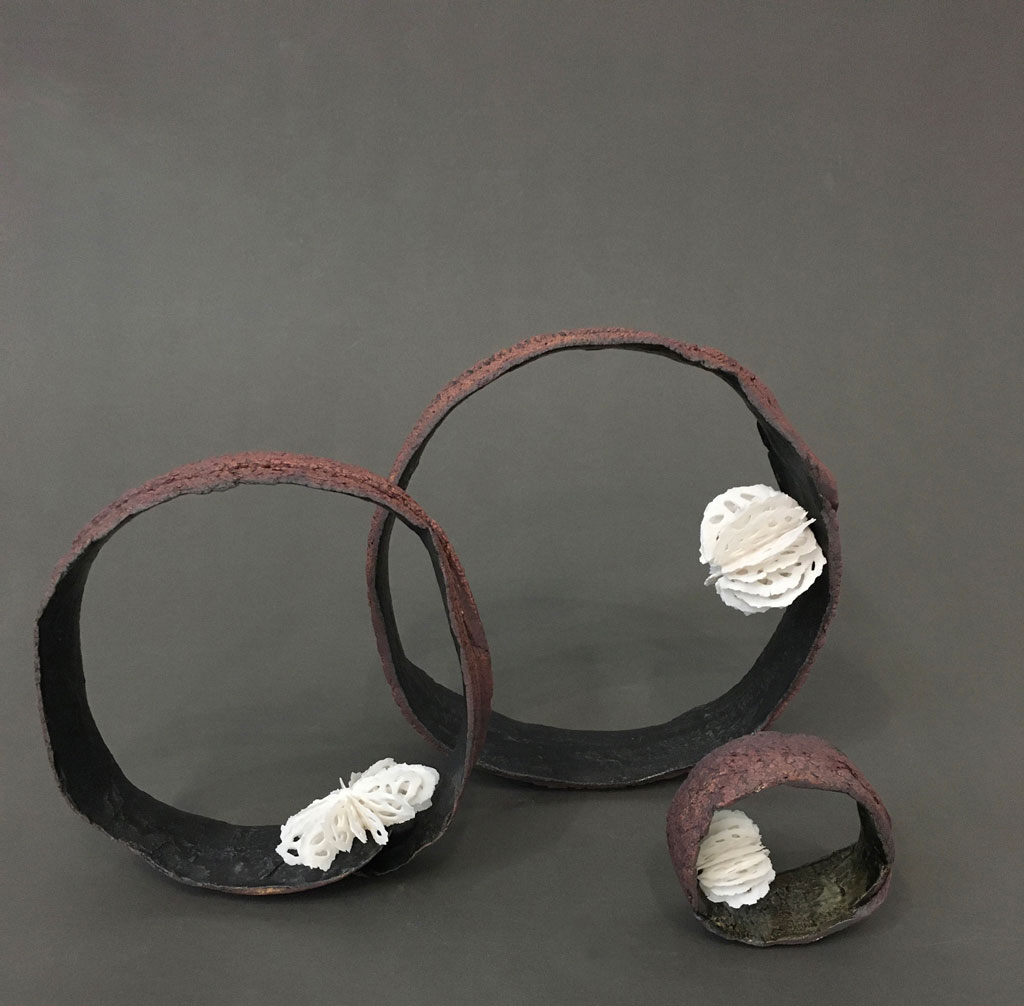
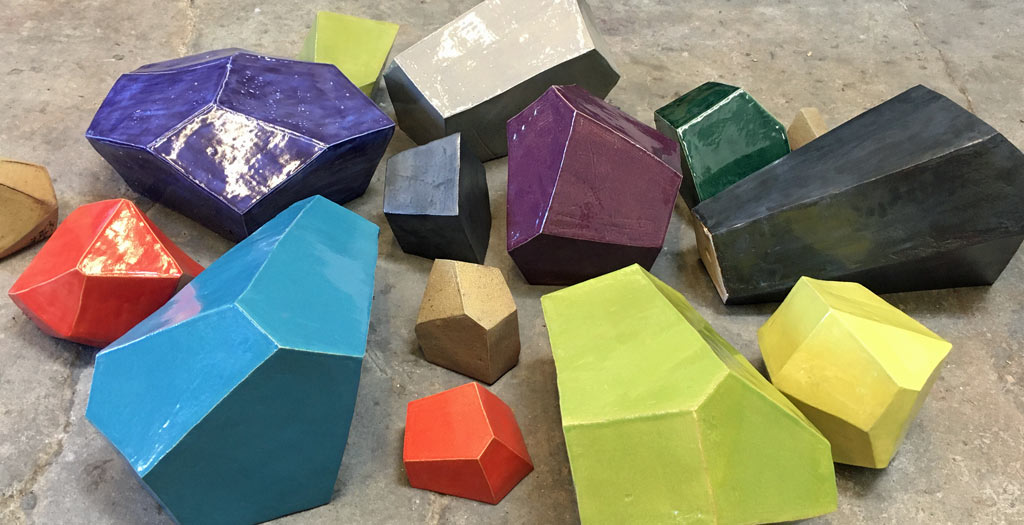
Once all of the pieces are bisque fired, they are ready for glazing. Each piece is glazed on all sides with a white matte glaze that is reminiscent of the shelf fungus color they are inspired by. Then each top edge gets a stripe of dark glaze that when fired is metallic colored where it is thicker and fades to a mossy green where it blends with the white glaze underneath. Now these guys are all ready to go for a ride in the kiln!
This batch of pieces totals to somewhere around 50 or 60 parts, but I’m estimating that I will need about 8 times that for this project- maybe more! Eventually every surface in the studio will probably be covered by these pieces, exciting times!