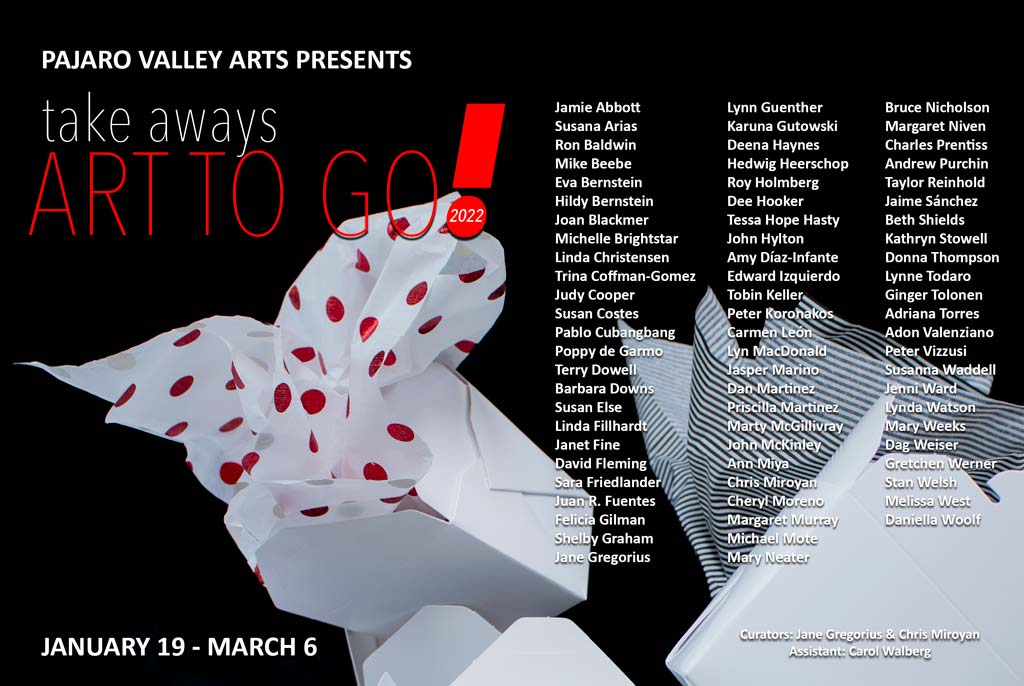
I did! It’s a beautiful show brimming with local talent and I picked up a new piece of art that will be a gift for a friend. There’s still time to see this show and pick up some art for your collection.
This annual invitational exhibit features seventy-three of the county’s most notable artists. As a fundraising event, these artists are presenting works that fit into many budgets.
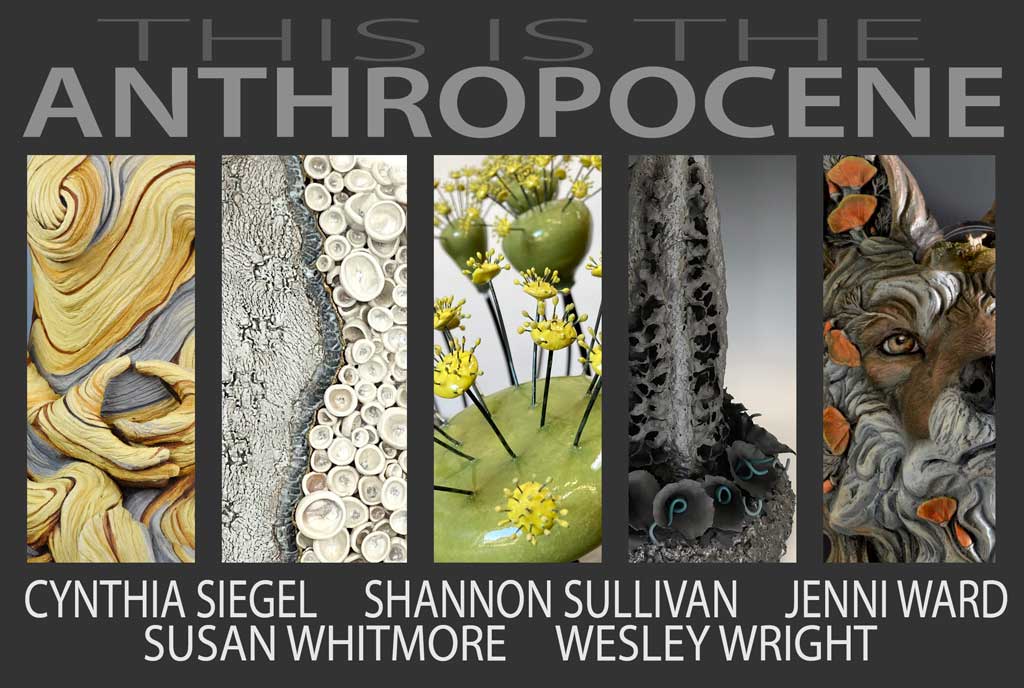
For over a year, Cynthia Siegel and I have been planning this exhibition and we finally installed it last week. We are so proud to share with you This is the Anthropocene, an exhibition of five ceramic artists responding to the human impact on the planet. Artists Cynthia Siegel, Shannon Sullivan, Jenni Ward, Susan Whitman & Wesley Wright have some incredible works included in this show, please see it in person if you can and if not, we’ll be posting more images of the show over the following weeks.
February 11 – March 27, 2022 Reception for the artists: March 17th 2022, 6:30-8:30pm
Harris Center for the Arts | Bank of America Gallery Folsom Lake College, 10 College Parkway, Folsom CA
The Anthropocene is defined as the current geological age during which human activity has been the dominant influence on the climate and the environment. In this exhibition, five artists respond to this topic within the themes of Animal, Agriculture, Landscape, Water and Atmosphere, from multiple viewpoints and approaches.
February 11 – March 27, 2022 Reception for the artists: March 17th 2022 6:30 – 8:30
Folsom Lake College 10 College Parkway, Folsom CA Gallery Hours: 12-4 Tuesday -Thursday NCECA Conference Hours: Tue 3/25 10–3, Wed 3/26 10–5, Thu 3/27 5-9, Fri 3/28 5–9, Sat 3/29 5–8
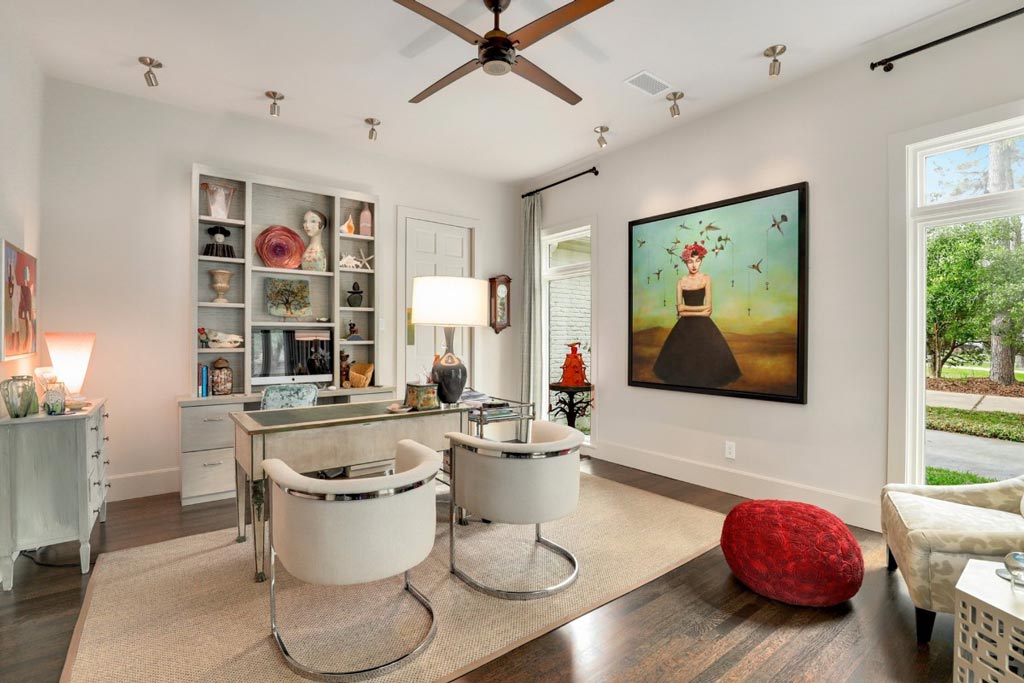
I was recently featured on a Redfin blog post covering tips on how to select art for your home. It is definitely a time consuming and thought provoking process to go through, but when the right art is in the right space, it’s pretty magical. Read more below…
Art can make any house feel like a home, but sometimes it can be a challenge to find art pieces that speak to you and reflect your design style. With many different art forms, there are some pieces that could fit well with your existing decor and others that may not. If this sounds like a problem you are facing, you’re in luck. Redfin reached out to art experts from Encinitas, CA to Windsor, ON, including us, for our best suggestions on unique art pieces to consider for every room in your home. From metal sculptures to metal prints, Check out The Art of Selecting Art: Experts Share Unique Art Pieces for Every Room of the House to see what we had to say. Read more…
If you want to preview the show, click the link to take a virtual tour of this exhibition – but then make sure to throw on a mask, get in there and buy some art!
The NCECA conference is just around the corner in late March, but work for our concurrent exhibition ‘This is the Anthropocene’ is due at the gallery in just a few weeks and I think I’m actually going to be ready in time!
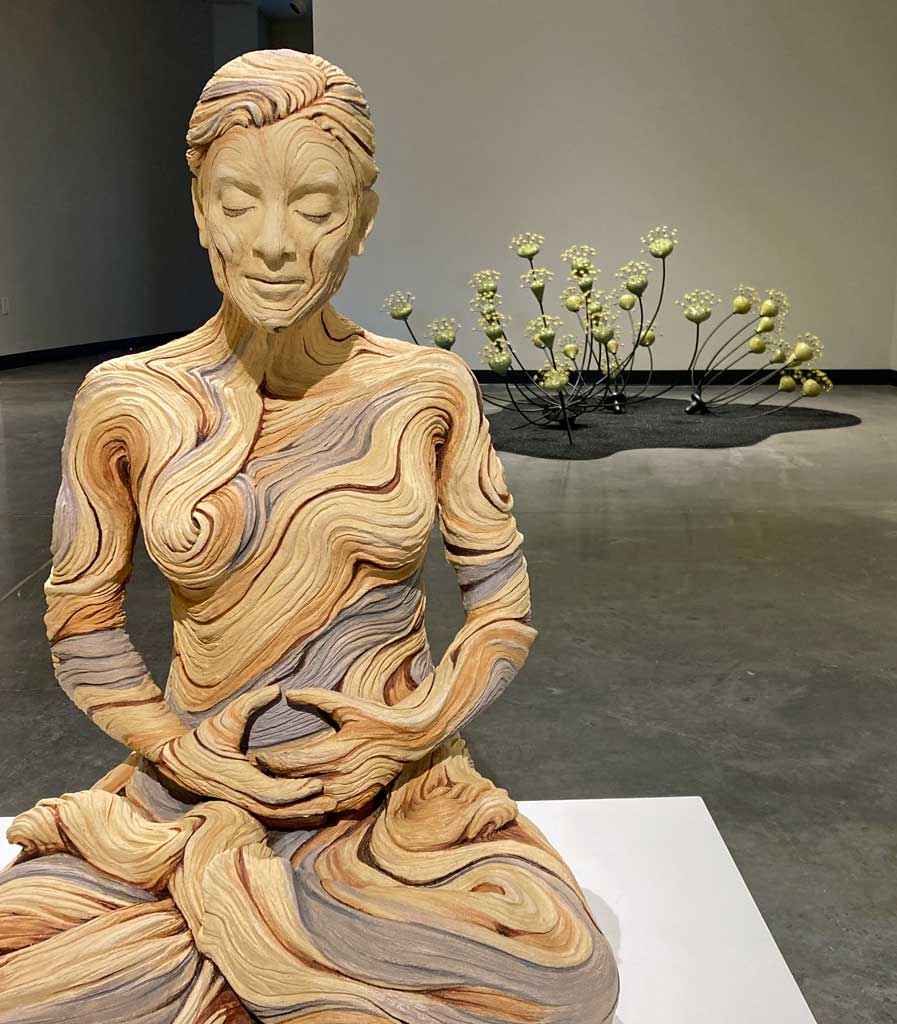
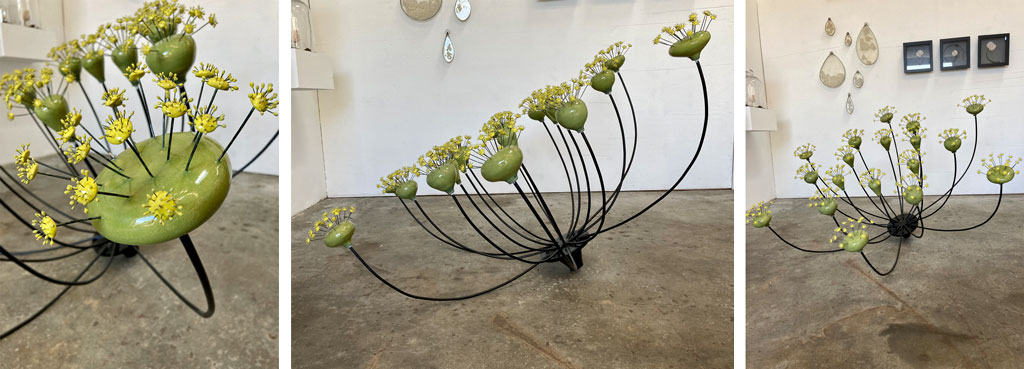
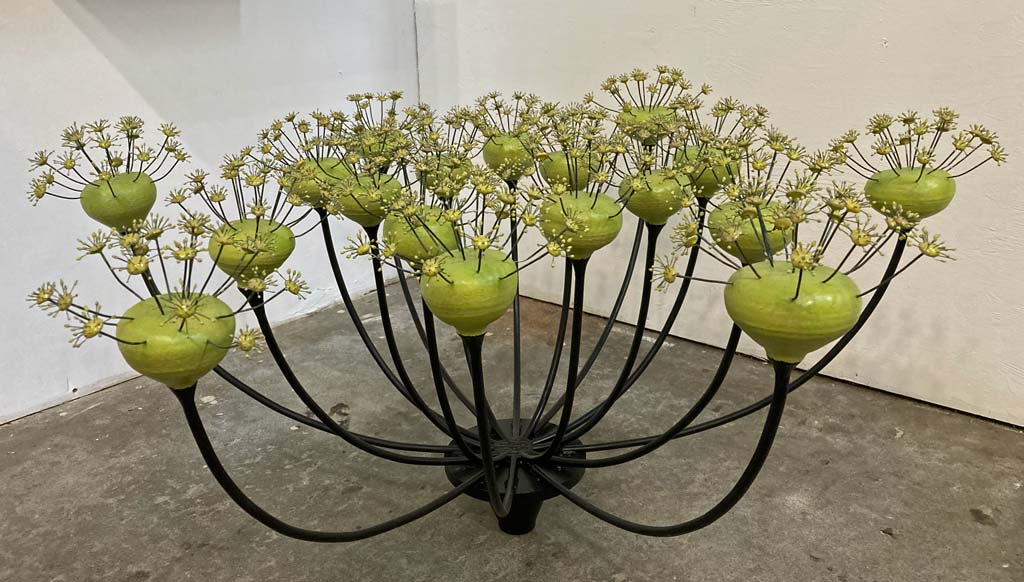
I abandoned my original plan of having three varying sized pieces and instead went with one very large and two smaller pieces. It’s so hard to tell scale in photos but this fennel inspired umbel is five and a half feet across and while it looks light and delicate, it actually weighs a ton (not literally!) It is ~almost~ finished, but there’s some touch up epoxying, sanding and touch up painting still to do. I’m really pleased with the way this one turned out. There are also two more smaller fennel flowerheads on their way across the finish line for this exhibit too. I’ve decided that the installation of all three flowers will be displayed on the floor of the gallery nestled into a puddle of black sand. I think the sand will highlight the bright yellow flower tips and make them glow even more than they already do. Looking forward to seeing this entire exhibit come to life, it’s been a long time in the making!
This is the Anthropocene.
Harris Center for the Arts – Bank of America Gallery | Folsom Lake College
February 11–March 27 | Reception: March 17 6:30-8:30
10 College Parkway Folsom, CA harriscenter.net/visit/bank-of-america-gallery
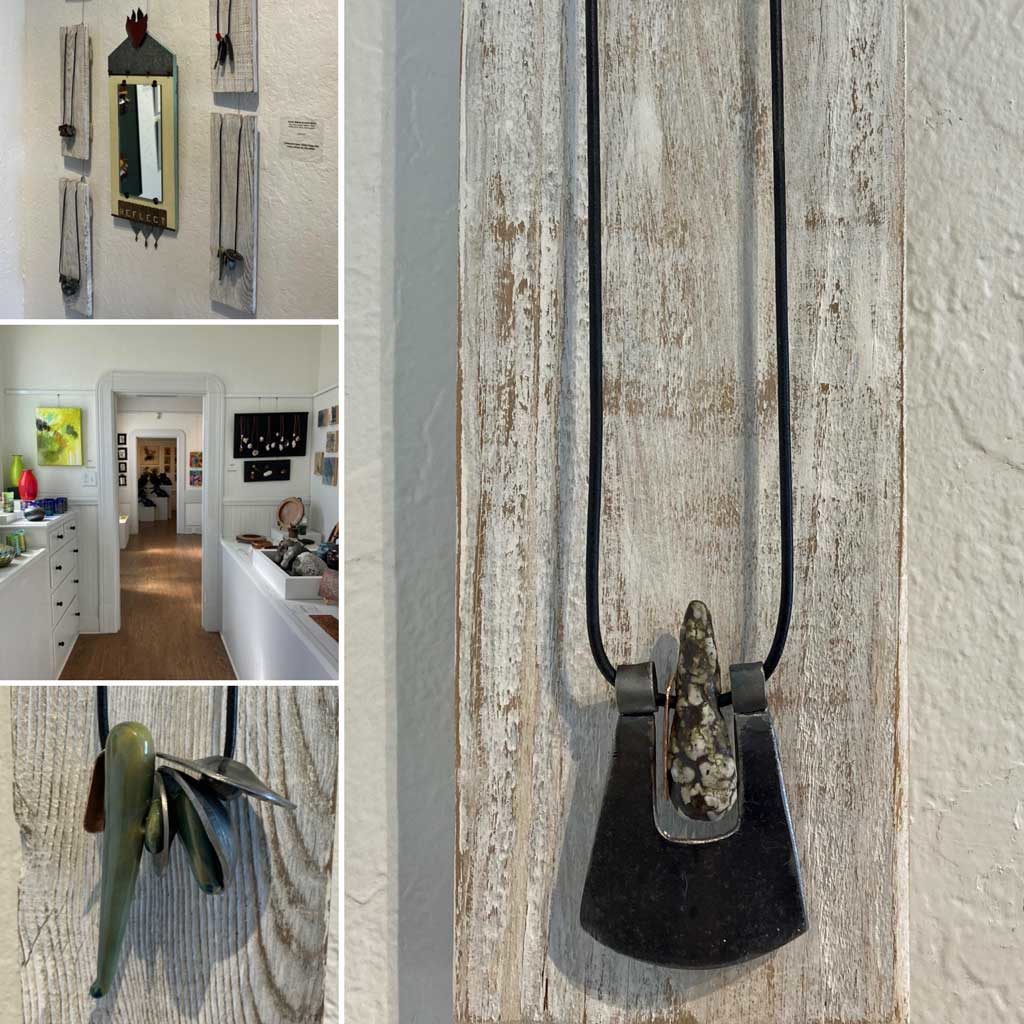
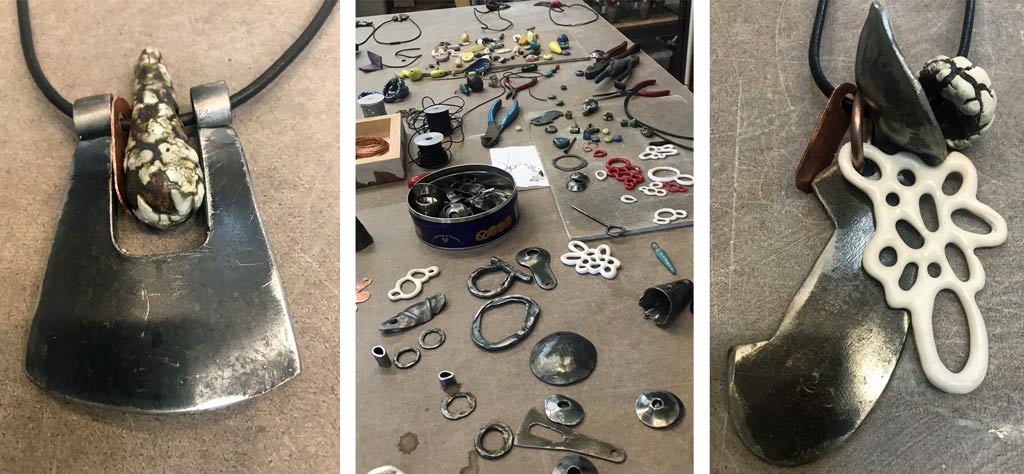
Sculptor Jamie Abbott and I have collaborated again to create a new series of wearable sculptures. They will be available at Pajaro Valley Arts Council Gallery for their annual exhibit, Take Aways – Art to Go!
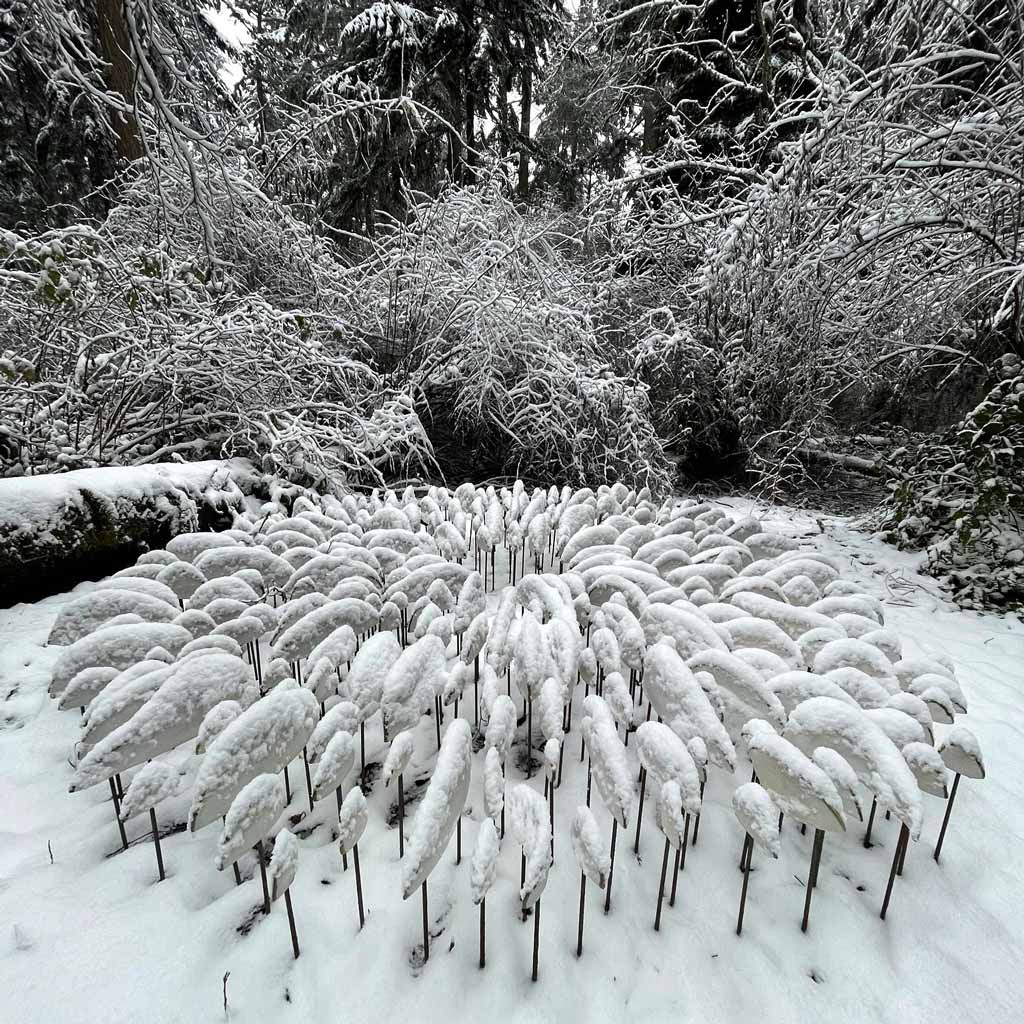
My installation Lichen Series | Spore Pattens was installed back in August and I loved how the white glaze looked contrasted against the lush green backdrop of the forest in summer. But, one of the things I was looking forward to the most was seeing my installation evolve through the seasons. Winter has officially arrived at the Price Sculpture Forest and I love this photo I just received from the owner Scott Price of the seasons first snowfall on my work. It’s so amazing to see how the snow highlights the forms and adds texture to the surface. Can’t wait to see what spring brings!