 I love getting and giving art as a gift, it’s always unique and very personal for the giver and receiver. Next best thing to getting actual artwork is a book about an artist and their work.
Art books are a great way to share an artist you love with your friends and family. They make the perfect gift and also help support the artists too.
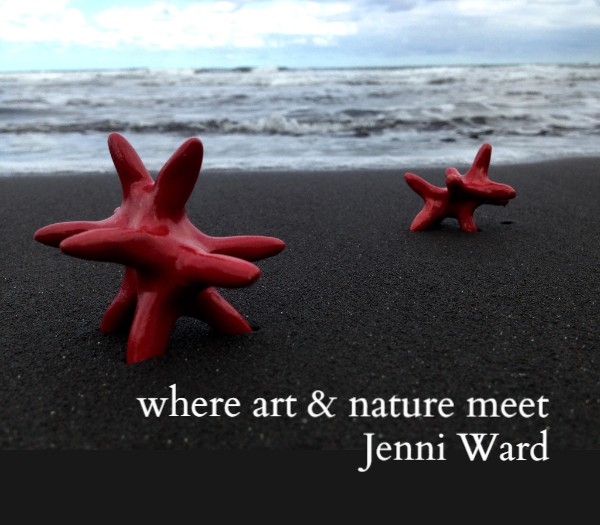
My hardcover book ‘where art & nature meet’ can be ordered directly from my Blurb bookstore. This book chronicles all of my In the Field photoshoots from 2012 – 2015 and makes a unique gift for the art and nature lover in your life!
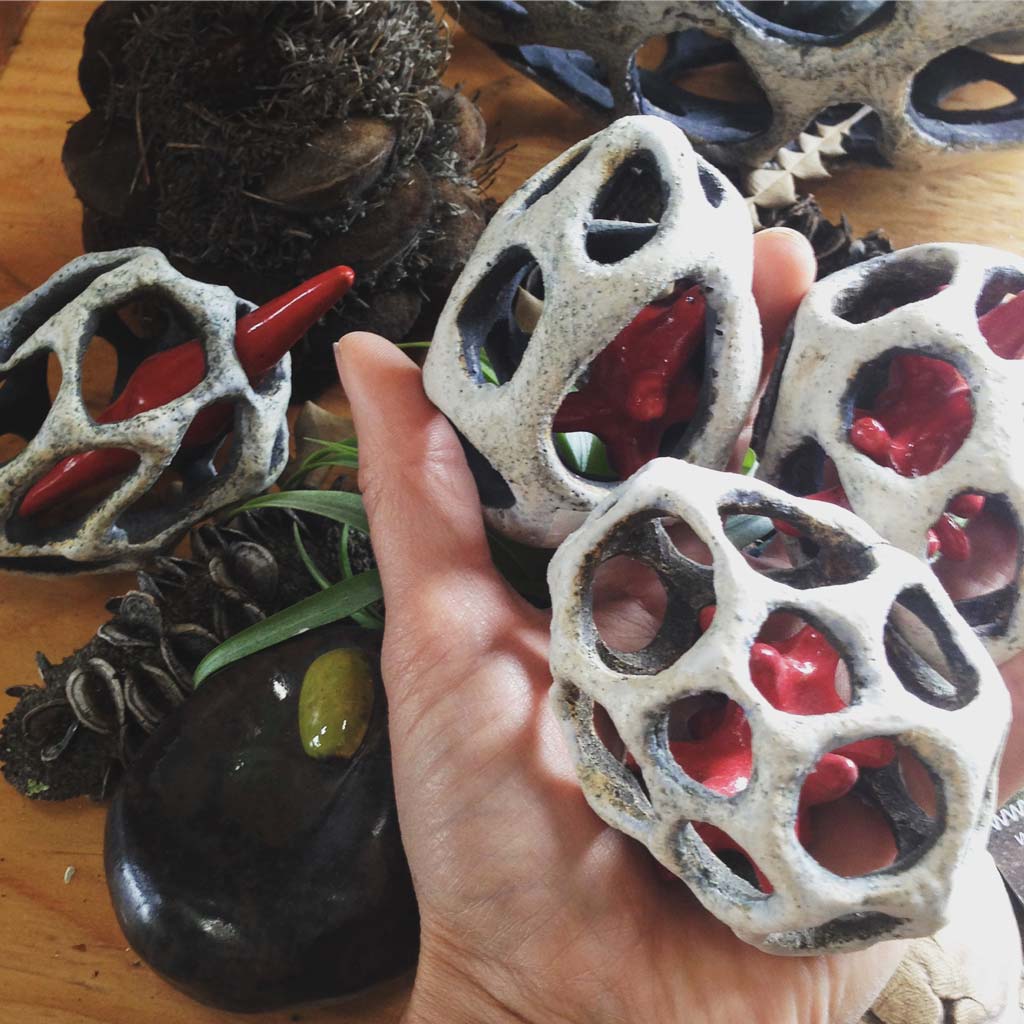
Don’t forget that you can also download a PDF version of my first book ‘a relationship with earth’ for FREE just by joining the mailing list.
Order your copy today and thanks for supporting independent artists!
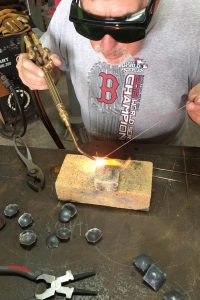

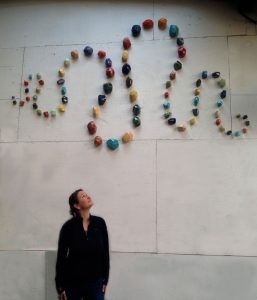
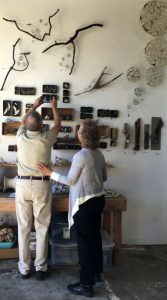 I spend a lot of time sharing new work, events and ideas with you, but I want to take a moment to share my gratitude. This year Open Studios was unbelievable. From the masses of people the first weekend to braving the rain the second weekend, it was really an incredible year. Thank you, thank you, thank you to ALL of the patrons, students, friends, family and fellow artists who came to the studio to see my studio, who bought art and who brought me gifts and good wishes. I can’t do this event without you!
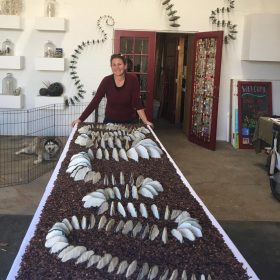 Last weekend of Open Studios was so fantastic! Thank you to everyone who came out to support the arts! I loved seeing old and new faces visiting me and exploring the new studio space. And pretty much everyone agreed that the parking is a lot better at the new space- if you’ve been to my old studio, you know what I mean.