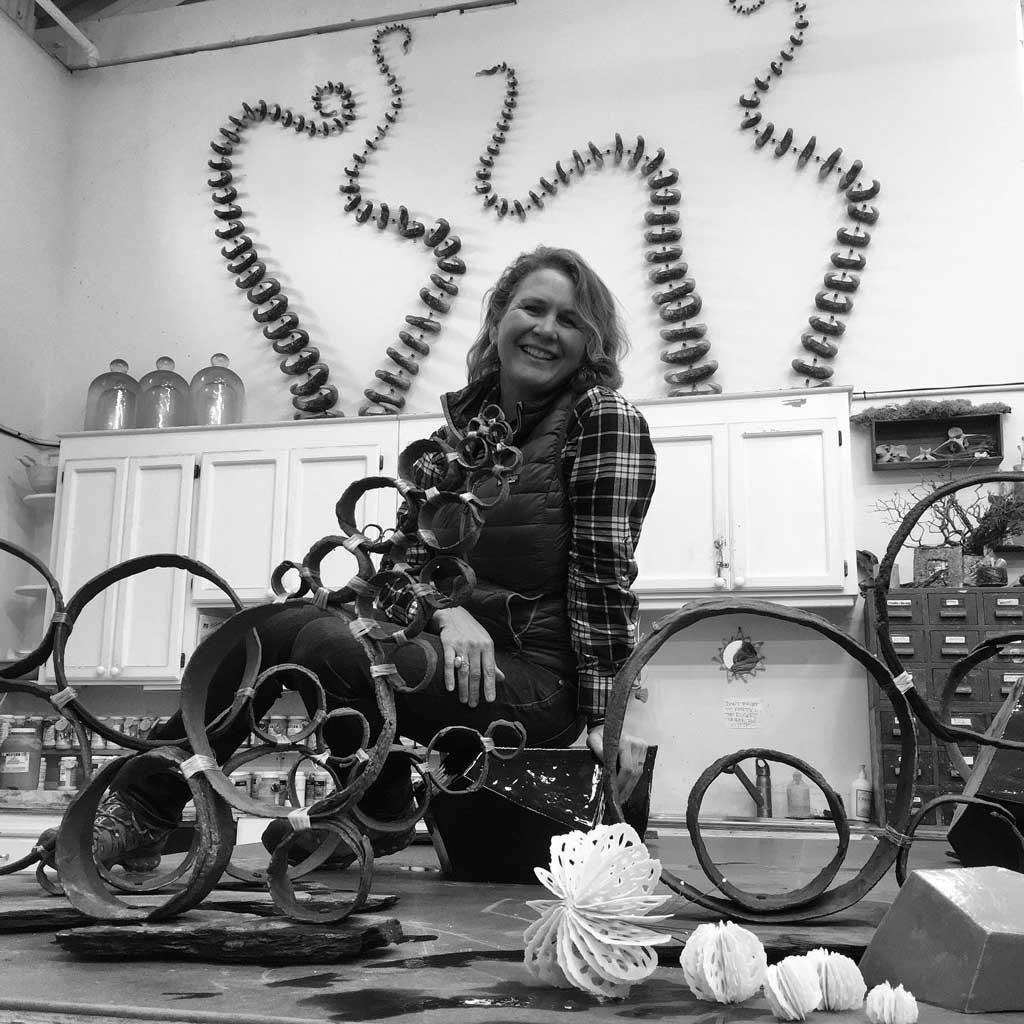
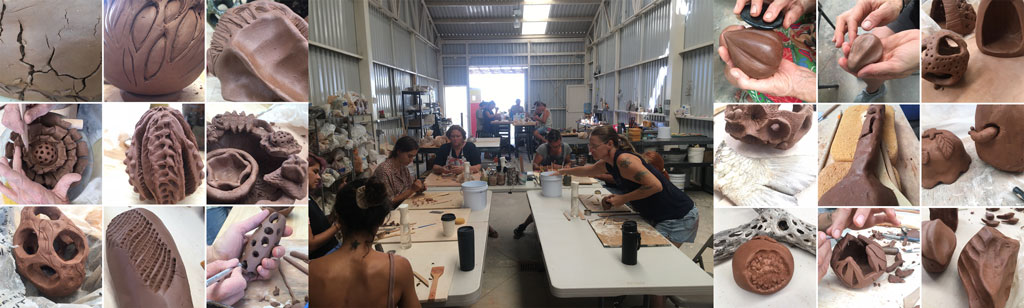
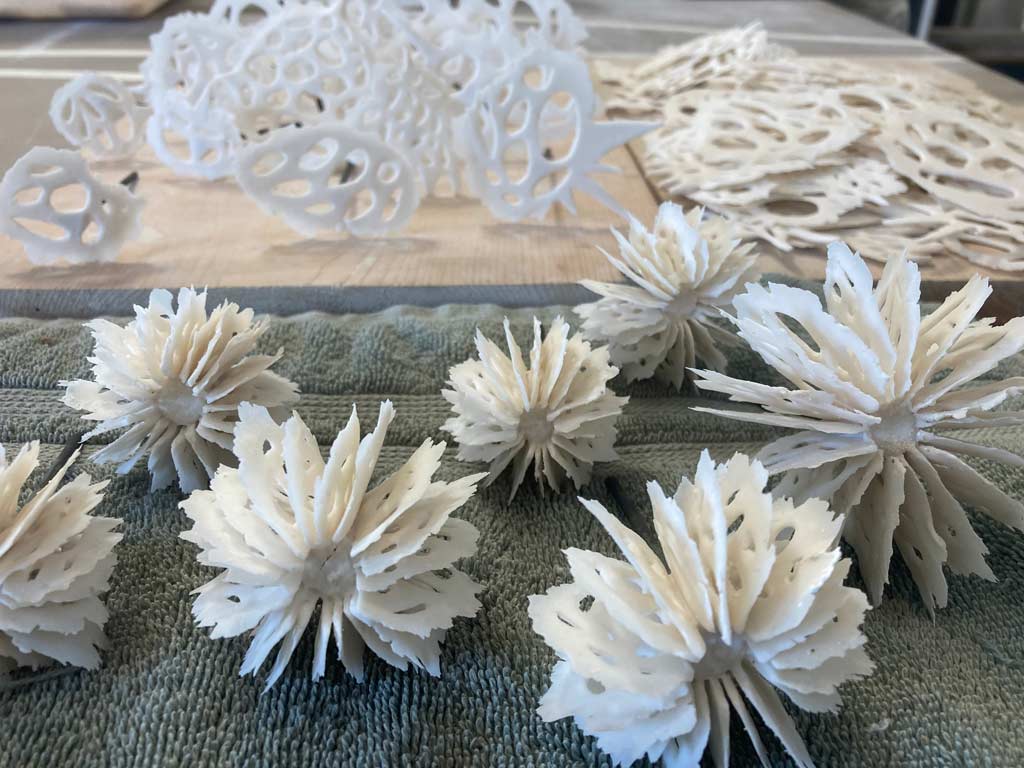
A few things are going on in the studio these days…
All of these Bone Series parts will be going towards two different exhibits, one is a public art piece for a wall installation at a new health care building in Santa Cruz and the rest (plus many more) will be used on a site specific installation at an exhibition at UCSC’s Eloise Pickard Smith Gallery this fall.
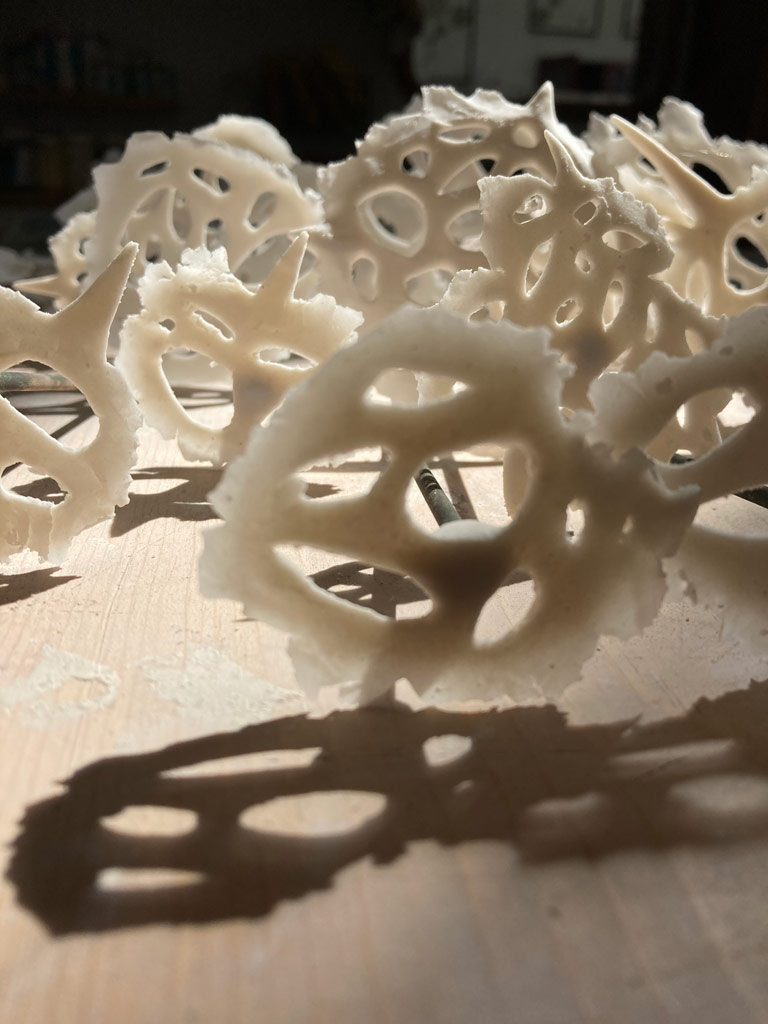
I love how parts sitting around the studio catching the morning light can be just as beautiful as any planned installation I might create. The shadows become just as important at the pieces themselves and it makes you see the pieces in a whole new way.
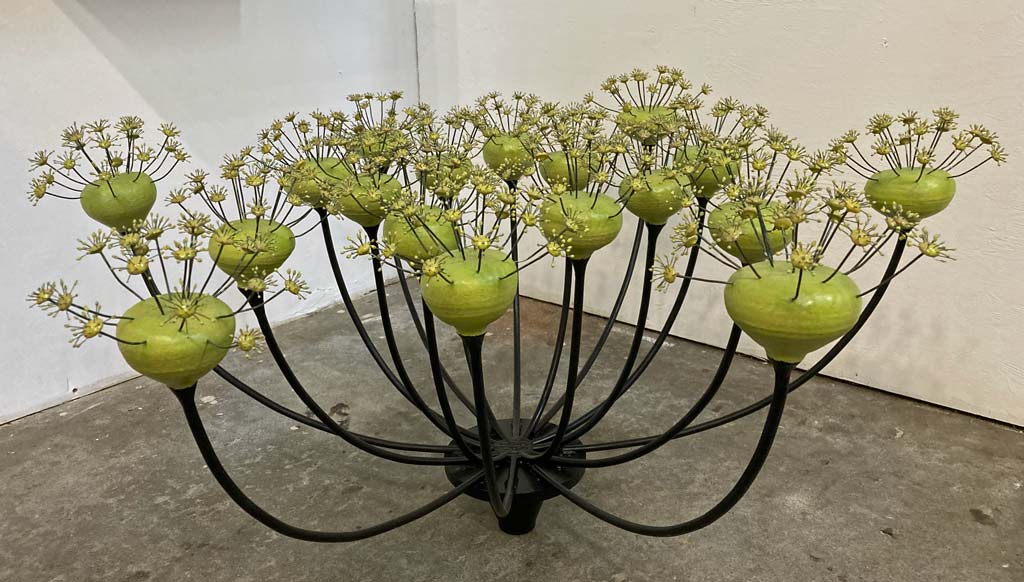
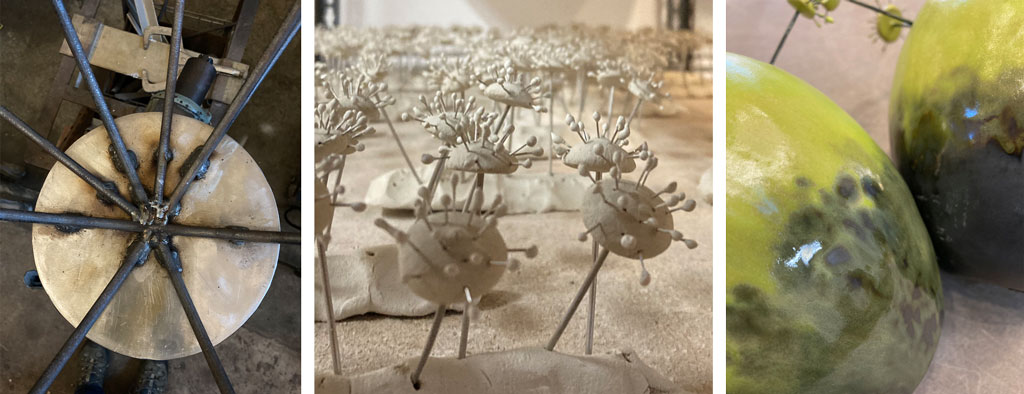
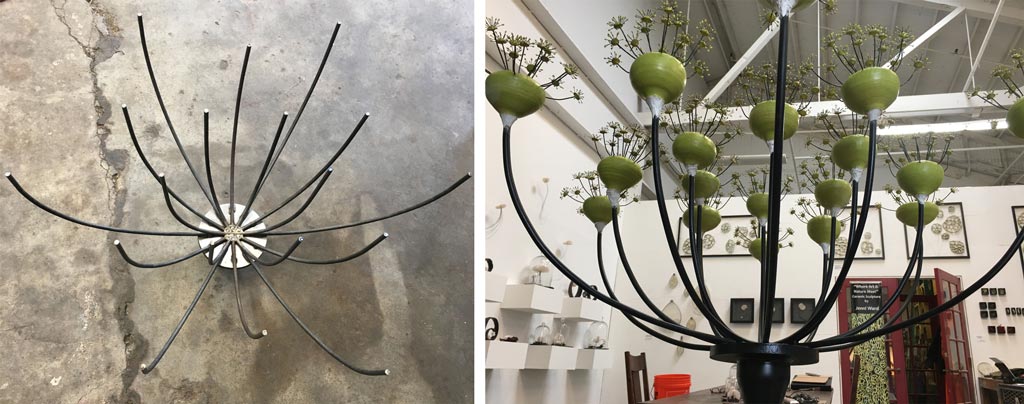
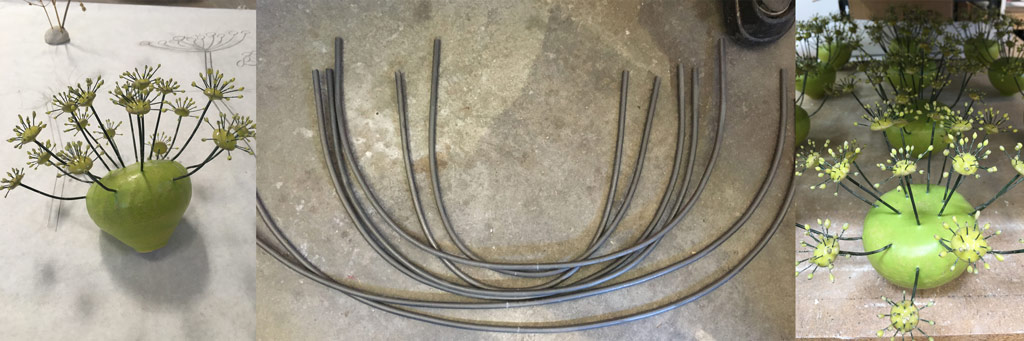
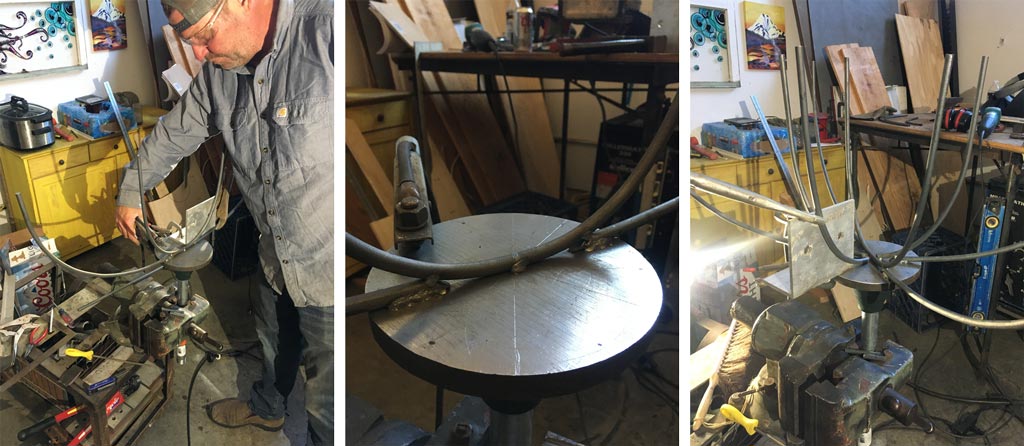
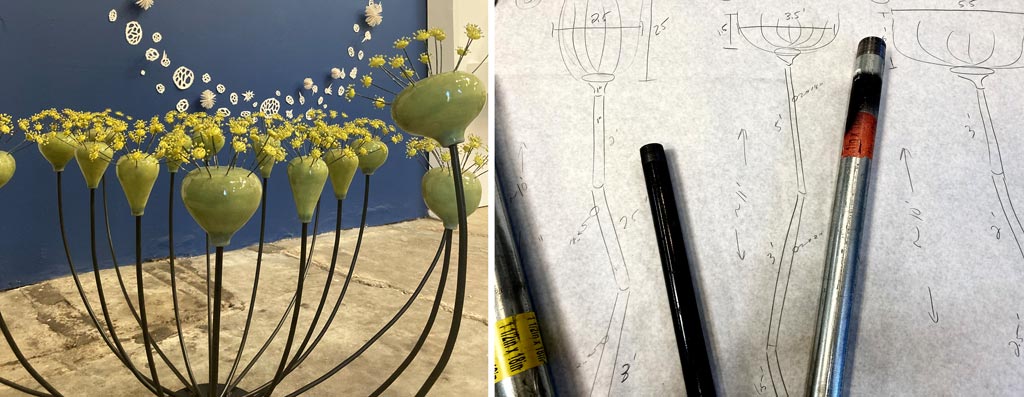
In additions to all the porcelain Bone Series parts, the big Umbels came back into the studio from their showing in the This is the Anthropocene exhibit and now I’m working on designing stems for them so they can be displayed at Sierra Azul’s sculpture garden as part of Sculpture IS: 2022. It will be fun to see these guys up off the ground and outside.
And on the side, I’m also running some experiments with fusing glass in the kiln. If you’ve seen my resin pieces with the porcelain parts embedded in them, the plan is the same with these pieces but using glass instead of resin. It will be a challenge to get them to be successful but I’m excited about the idea of using a material that isn’t plastic while still getting a similar layered effect with glass… we will see what happens here…fingers crossed!